How to Resize an Image Without Losing Quality
Published July 17, 2026
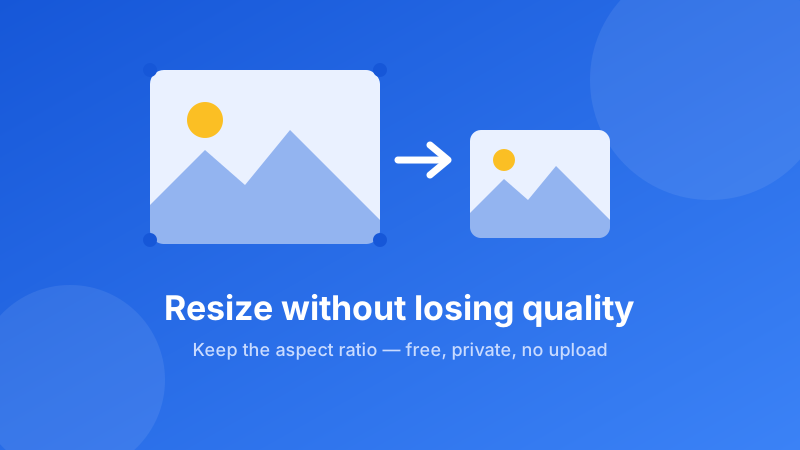
"Resize" and "lose quality" don't have to go together. Most of the time a photo looks blurry or blocky after resizing not because it was resized, but because it was resized the wrong way — scaled up past its real detail, saved with heavy compression, or squashed out of its proper shape. This guide explains what actually happens when you change an image's size, and gives you a few simple rules so your photos stay crisp.
Resize an image right now
Drop a photo, set a percentage or exact pixel size, and download a sharp copy. Aspect ratio is kept automatically, and it all runs in your browser — no upload, no watermark.
Open the Image Resizer →What "resizing" really does to an image
A normal photo is a grid of tiny colored dots called pixels. A picture that is 4000 pixels wide simply has 4000 dots across. When you resize it, the software recalculates that grid to a new number of dots — a process called resampling. This is the key idea, and it splits neatly into two directions.
Scaling down (fewer pixels) is safe and usually loses no visible quality. The software has plenty of original detail to work with and just averages it into a smaller grid. A 4000-pixel photo shrunk to 1200 pixels for a website still looks perfectly sharp.
Scaling up (more pixels) is where quality suffers. The software has to invent pixels that were never captured, guessing colors between the real ones. It can smooth the guesses, but it can't add detail that was never there — so upscaling too far gives you a soft, mushy look. The honest rule: make images smaller freely, and enlarge them only a little.
How to resize an image without losing quality
The Toolyard Image Resizer is free, needs no account, and does everything inside your browser — your photo is never uploaded to a server. Here's the whole process:
- Open the Image Resizer and drop in your photo (JPG, PNG or WebP). You can add several at once.
- Pick how you want to resize: by percentage (e.g. 50% for half size) or by maximum width and height in pixels.
- Leave aspect ratio locked so the image scales proportionally and never looks stretched. This is on by default.
- Check the preview. When the size looks right, click Download to save the resized copy.
- Keep your original file. Resize from the original each time rather than resizing an already-resized copy — that stacks quality loss.
There's no watermark, and you're free to use the results anywhere — websites, social posts, listings, or documents.
Five rules to keep images sharp
1. Always keep the aspect ratio
Aspect ratio is the relationship between width and height. If you change one without the other, the image gets stretched or squashed and faces look distorted. Locking the ratio (the default in the resizer) scales both together so the picture keeps its natural shape. If you need an exact frame like a perfect square, crop to that shape first, then resize.
2. Resize down, not up
As covered above, shrinking is free and enlarging is risky. Before you upscale, ask whether a bigger original exists — the photo straight off your camera or phone is almost always larger and sharper than a version already saved for the web.
3. Choose the right output format
Format matters as much as size. Use JPG for photographs — it compresses smoothly and keeps files small. Use PNG for graphics, logos, screenshots, and anything with sharp edges or transparency, because it stays pixel-perfect. Saving a detailed logo as a low-quality JPG can add ugly halos around the lines. See our guide on PNG vs JPG if you're unsure which fits.
4. Watch the compression when you save
Resizing changes the number of pixels; compression changes how much each saved file is squeezed. Even a correctly sized photo can look bad if it's saved at very low quality. If your goal is a smaller file rather than smaller dimensions, reach for a compressor instead, which trims file size while holding the pixels steady.
5. Target the size you actually need
There's no point serving a 4000-pixel photo where it will display at 800. Match the pixels to the use: roughly 1200–2000 pixels wide is plenty for most website images, and social platforms have their own ideal sizes. Right-sizing keeps pages fast and sharp.
Good target sizes for common uses
- Website / blog images — 1200 to 2000 pixels on the long side is a sweet spot for looking crisp without slowing the page.
- Email attachments — around 1000 to 1600 pixels is more than enough to view clearly and easy to send.
- Social posts — each platform has preferred dimensions; our Instagram size guide lists the exact numbers.
- Print — printing needs far more pixels than screens. Keep the largest original you have and avoid shrinking anything you plan to print.
Is it private and free?
Yes on both counts. The Toolyard Image Resizer is 100% private because the resizing happens entirely inside your browser using the Canvas API — your photos are never uploaded to any server. It's completely free with no sign-up and no watermark, and once the page has loaded you can even use it offline. That means you can safely resize personal photos, ID scans, or client work without them ever leaving your device.
Ready to resize?
Scale any photo up or down by percentage or exact pixels, with the aspect ratio kept for you — free, private, and watermark-free.
Open the Image Resizer →