How to Make a YouTube Thumbnail Without Photoshop
Published August 18, 2026
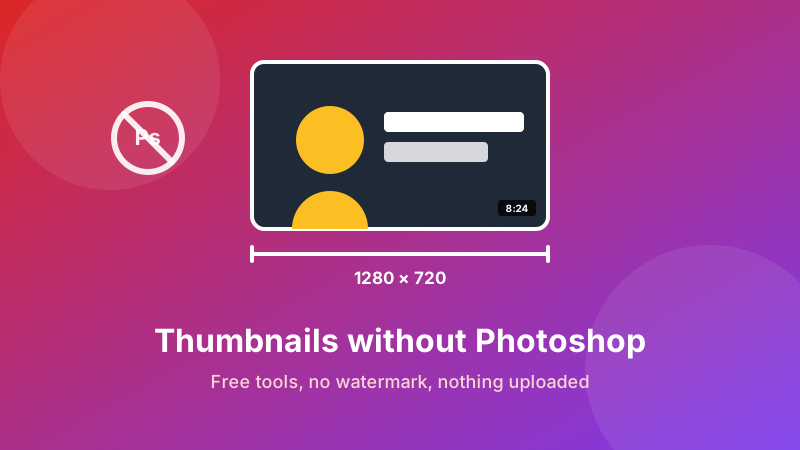
A YouTube thumbnail is not a design project. It is a 1280×720 image with a clear subject and a few large words on it — and every part of that is achievable with software you already own. Photoshop is a fine tool, but paying a monthly subscription to crop a picture and type three words on it is a strange trade, and the free "thumbnail makers" that fill search results tend to want an account, then stamp their logo on your download.
Here is a workflow that costs nothing, adds no watermark, and takes about five minutes once you've done it once.
Start with the right canvas
Pick the YouTube preset, drop in your image, and get an exact 1280×720 file. Runs in your browser — no sign-up, no watermark, nothing uploaded.
Open the Social Image Resizer →What you actually need (and what you don't)
Strip the job down and there are only four operations involved:
- Crop the picture to a 16:9 rectangle.
- Resize it to exactly 1280×720 pixels.
- Add text — three to five words, very large.
- Export as a JPG under 2 MB.
That's the whole list. Layers, masks, blend modes and filter stacks are what Photoshop is genuinely good at, and none of them are required for a thumbnail that gets clicks. What matters far more is contrast, a readable face, and text big enough to survive being shrunk to the size of a stamp.
Step 1 — get your base image
Three sources work well. A frame from the video itself is the most honest option: play the video, pause on a strong expression or moment, and screenshot it. A photo taken deliberately for the thumbnail almost always looks better, because you can face the camera and leave empty space on one side for text. A screenshot of what you're demonstrating suits tutorials and reviews.
Whichever you choose, start as large as you can. A frame grabbed from a 1080p video is 1920×1080 — plenty. A frame from a 480p upload is 854×480, and scaling that up to 1280 wide will look soft no matter what you do afterwards. Going down in size is nearly free; going up never is.
Step 2 — crop to 16:9 before anything else
This is the step people skip, and it's the reason so many thumbnails end up with black bars down the sides. YouTube will not stretch a square or vertical picture to fit — it pads it. Crop first and the problem never arises.
Open the Crop Image tool, load your picture, and lock the crop box to the 16:9 preset. Drag the box so your subject sits slightly off-centre, leaving clear space on one side. That empty space is where your text goes, and deciding it now saves you fighting for room later.
One composition rule worth following: keep faces and words out of the bottom-right corner, where YouTube prints the video duration badge over your image.
Step 3 — resize to exactly 1280×720
Now lock the pixel dimensions. Take the cropped file to the Social Image Resizer and choose the YouTube Thumbnail (1280×720) preset. Because the image is already 16:9, both sides land on target together and nothing is distorted.
Do this before adding text, not after. Text added at one size and then scaled to another gets resampled along with the photo, and thin letterforms pick up soft edges in the process. Set the canvas first, then put the words on top of a canvas that will never be resized again.
Step 4 — add text with what's already on your computer
Every operating system ships with something that can put text over an image. None of them watermark the result:
- Windows: open the file in Paint, click the A text tool, drag a box and type. Set the size to 100 pt or more — it will look absurdly large on screen, which is correct.
- macOS: open in Preview, click the Markup icon, then the T button. Select the text box and use the font panel to push the size well past 100 pt.
- iPhone: Photos → Edit → the Markup pen icon → + → Text.
- Android: Google Photos → Edit → Markup → Text.
Three rules make text work at thumbnail scale. Keep it to three to five words — the title already explains the video, so the thumbnail only needs a hook. Use a heavy weight: bold or black, never light or thin. And give it contrast — white text with a dark outline, or dark text on a bright block of colour. Text that merely sits on a photo disappears the moment the photo gets busy.
If you want a caption bar rather than free-floating words, the meme generator adds outlined top and bottom text to any image without a watermark, which is a fast route to a readable thumbnail.
Step 5 — check the file size and export
YouTube caps thumbnails at 2 MB. Save as JPG and a 1280×720 image typically lands between 150 and 400 KB, so you'll rarely get near the limit. PNG is the exception — a photographic PNG at this size can run to several megabytes, which is exactly how the "file too large" error happens. If you're over, either re-save as JPG or run it through the image compressor.
One last thing before you upload: custom thumbnails require a verified YouTube channel. If the upload button isn't offering you one, open YouTube Studio → Settings → Channel → Feature eligibility and verify with a phone code. It's free and takes a minute.
The shrink test
Before you publish, do the one check that predicts performance better than any design rule. Shrink your finished thumbnail until it's about 170 pixels wide — the size of a suggested-video slot in the desktop sidebar — and look at it. Can you still read the words? Can you tell what the video is about?
If not, the fix is almost always the same: fewer words, bigger, with more contrast. Most thumbnails that fail don't fail because they were made without Photoshop. They fail because they were designed at full size and never checked at the size people actually see.
Is it private and free?
Yes. Toolyard's cropper, resizer and compressor all run entirely inside your browser using JavaScript and the HTML Canvas — your image is opened, changed and saved on your own device and is never uploaded to a server. There's no sign-up, no watermark on the download, and no limit on how many thumbnails you make. Once the page has loaded you can switch your internet connection off and it keeps working, which is the simplest proof that nothing is being sent anywhere.
FAQ
Can I make a YouTube thumbnail without Photoshop?
Yes. A thumbnail is just a 1280×720 image, so any tool that can crop, resize and add text will do the job. A free browser resizer plus your phone or computer's built-in photo editor covers everything Photoshop would be used for here.
What's the best free YouTube thumbnail maker?
It depends what you need. For sizing and cropping to exactly 1280×720, a browser resizer with a YouTube preset is fastest and needs no account. For heavy graphic layouts with layers and effects, a template-based design app makes more sense — though most add a watermark or a subscription.
How do I add text to a thumbnail for free?
Use the markup tools already on your device: Photos on iPhone, Google Photos on Android, Preview on macOS, or Paint on Windows. All of them add text over an image and export a normal JPG or PNG with no watermark.
What size should a YouTube thumbnail be?
1280×720 pixels in a 16:9 ratio, under 2 MB, saved as JPG, PNG, GIF or WebP. The minimum width YouTube accepts is 640 pixels. See our full thumbnail size guide for every spec.
Do free thumbnail makers add a watermark?
Many template-based design sites do, or they gate the download behind a sign-up. Tools that only crop and resize generally don't, because there's no service cost to recover. Toolyard's resizer adds nothing to the file and needs no account.
Can I make a thumbnail entirely on my phone?
Yes. Pick a photo, crop it to 16:9 in your phone's editor, add text with the same editor's markup tool, then open the resizer in your mobile browser to lock the file to exactly 1280×720 before uploading.
Size your thumbnail now
Drop in any image, pick the YouTube preset, download a perfect 1280×720 file — free, private and watermark-free.
Open the Social Image Resizer →